
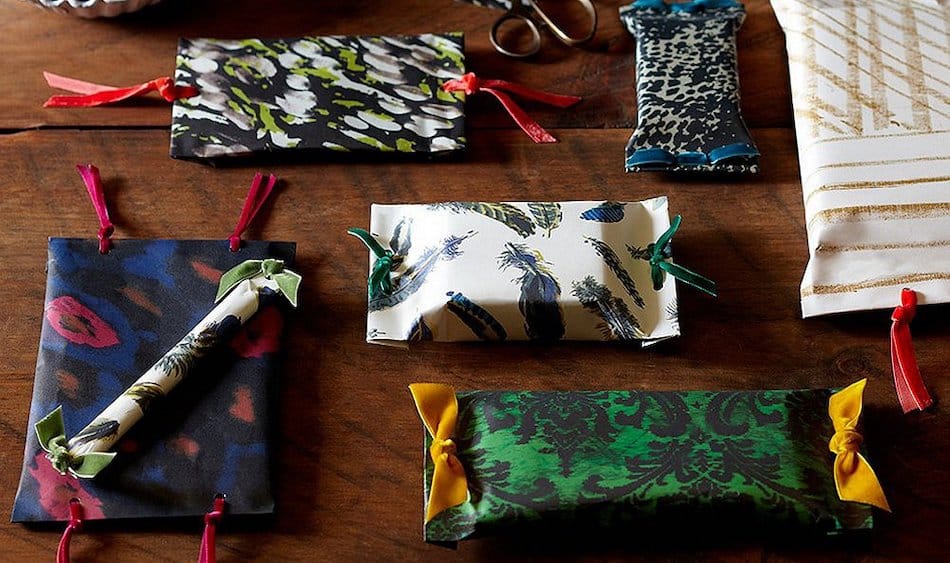
Searching for ways to gift wrap some awkwardly shaped items? Here are a couple of great solutions for almost any unusual gift item.
How do you wrap oddly shaped gifts? Here are three helpful methods. First, you can make a custom gift bag in almost any size. Second, you can make a gift package with paper, a hole punch, and ribbon. Third, you can use scissors and a stapler for those extremely odd shaped gifts.
With one of these three methods, plus a bonus idea, you should be able to wrap round, long, bumpy, bulky, and almost any other oddly shaped gifts.
Method 1: Make a Custom Gift Bag
Probably the most common idea for wrapping unusual shaped gifts is making a custom gift bag. There are basically two ways to do this. The first is to use a box that is similar to the shape and size you want your bag to be. The second is to make a completely custom bag using just paper and glue or tape.
It’s preferable to use a heavier wrapping paper to make a custom gift bag.
Making a Gift Bag Using a Box for Size


Step 1– Find a box that is approximately the size and shape of the bag you want to make. It can be anything and doesn’t need to be pretty. A cereal box, a torn box, a shoe box, or almost any other box will work.
Step 2– Lay the box on the paper. Decide which end will be left open to make the top of the gift bag.
Step 3– Either fold that top edge down about an inch to make a finished border, or trim it with decorative scissors after step 5.
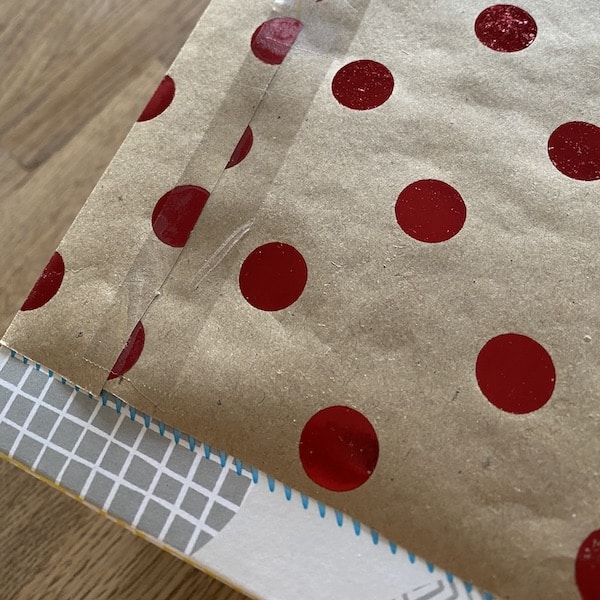
Step 4– Wrap the box like you would if you were wrapping a present, but leave the top edge open. You can tape the long edge securely, or glue it with craft or school glue. A glue stick will work also.

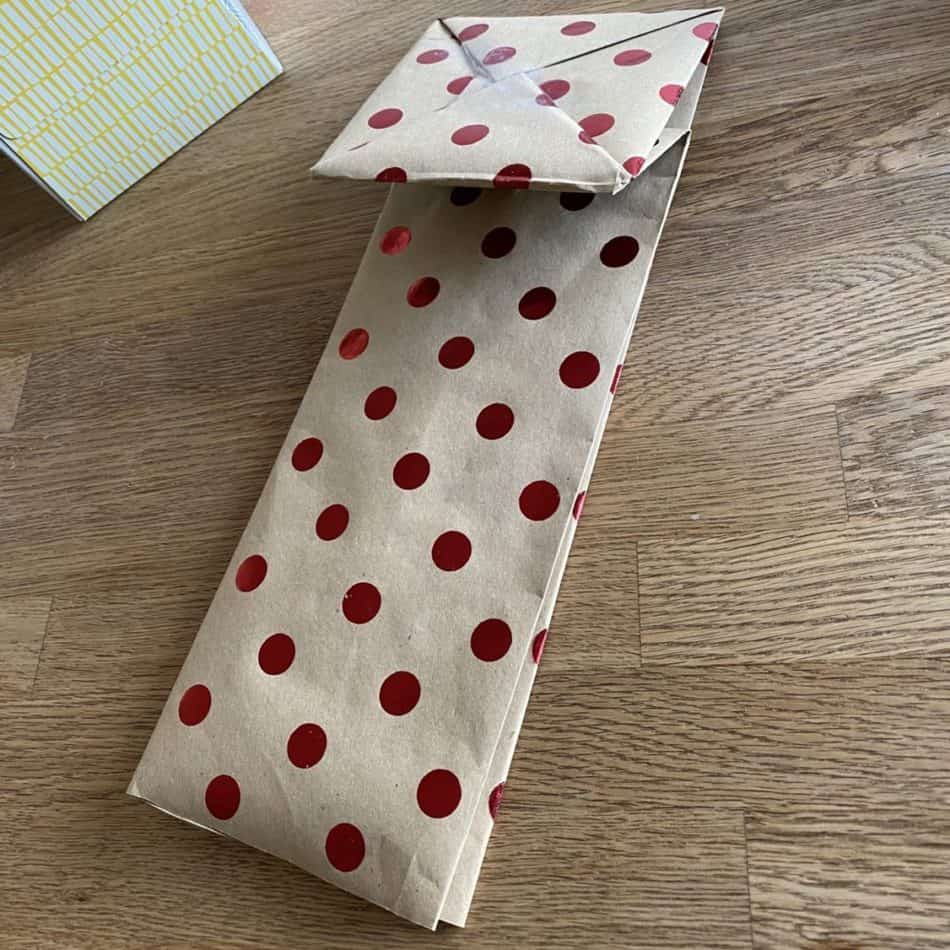
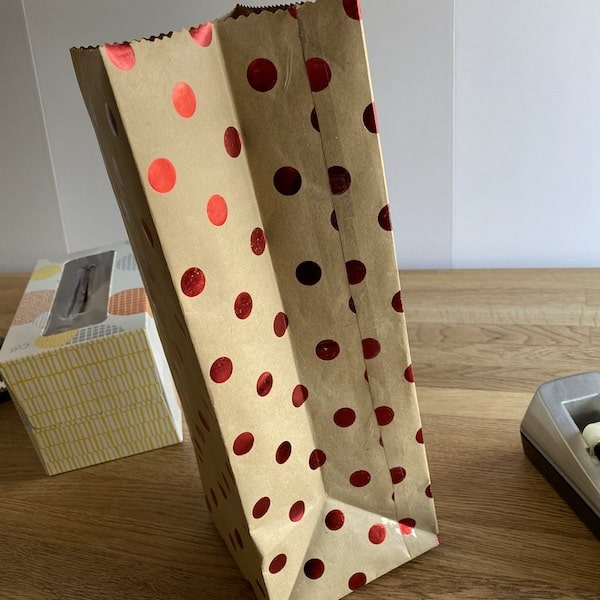
Step 5– Slide the box out of the paper. At this point, I like to secure the folded bottom of the bag from the inside with some tape for extra security. For heavier items, cut a piece of poster board or thin cardboard to the same size as the bottom of the bag and place it inside on the bottom.
Step 6– Fold bag flat to make fold lines. Trim the top edge with decorative craft scissors if desired.
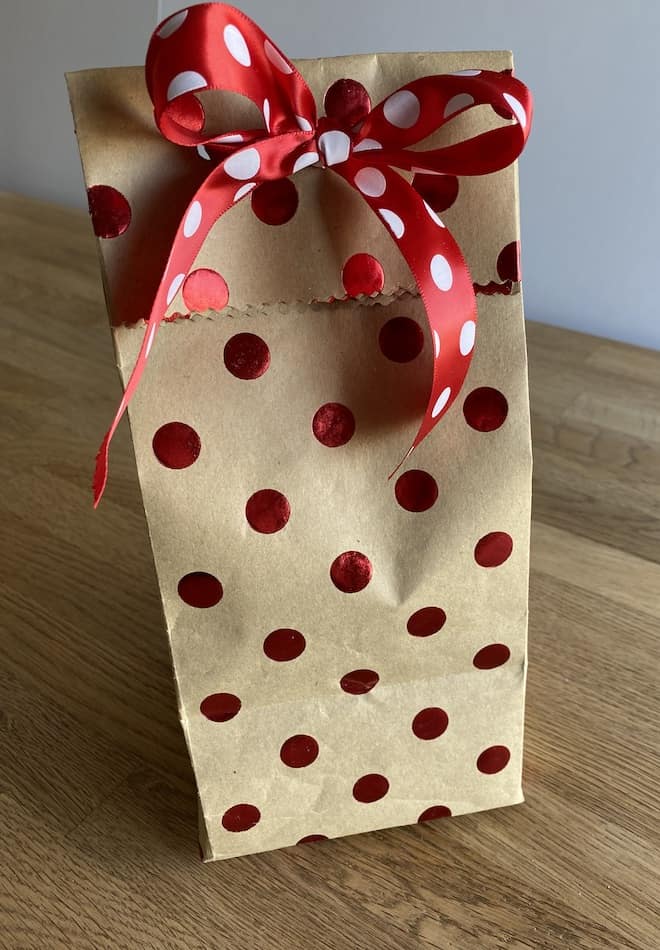
Step 7– Finishing touches: Open the bag, add the gift, fold the top over and tape. Or use a hole punch to add a ribbon.
Congratulations! You’ve created a simple, affordable, one-of-a-kind gift bag.

Optional– if you would like to make ribbon handles, punch holes through the papers and thread the ribbon through. Tie the ribbon ends into knots and tape them down securely to the inside of the bag.
Making a Gift Bag Using Just Paper and Glue or Tape
Making a gift bag with just paper is similar to making it with a box, except you will be estimating the size of where you want to make the folds. This method is great when you have a more unusual shaped gift to wrap, or don’t have a box handy.
Method 2: Make a Gift Package
This one is my new favorite. It is easy to do and looks nice when finished.
Things You’ll Need:
- Paper
- Hole punch
- Tape or craft glue
- Ribbon or twine
- Scissors
How-To:
- Cut a sheet of wrapping paper that is bigger than your gift by 3 inches or so all the way around.
- Wrap the paper around your gift and tape or glue the edge to make a tube that is open on both ends.
- Flatten the ends of the tube, and fold one edge over 1 inch. Fold the same edge over again to conceal the cut edge of the paper. Repeat on the other end of the gift.
- Punch some holes on the folded ends, then thread the ribbon through the holes and tie.
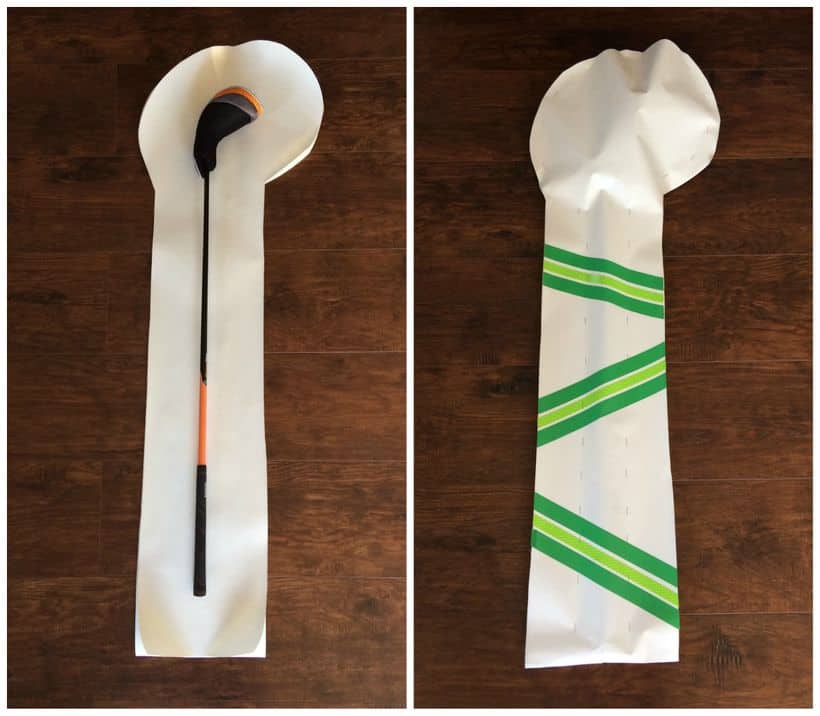
Method 3: Shaped Wrapping with Paper and Staples
This method is something I’d never seen before. I found it in an article by Amy Goodman in Huff Post. I decided to try it with some other odd shapes, and it really works well for things that are relatively flat. Golf clubs, sports rackets, round trays or plates, toy packaging that isn’t too tall… you get the idea.
What you will need:
- Large roll of wrapping paper
- Scissors
- A stapler
- Optional- craft scissors with a decorative edge
Step 1– Roll out enough paper to lay the item on with at least 5 inches of extra on the edges.
Step 2– Cut two pieces the same size.
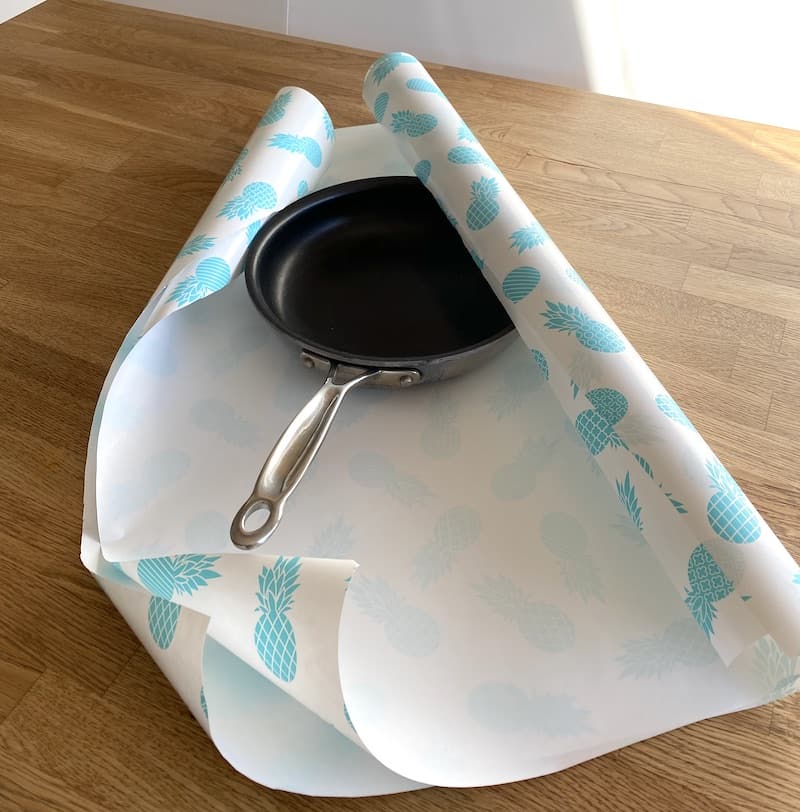
Step 3– Now lay the papers with the blank side facing in, and set the gift item on top. Cut around the shape, leaving 3-4 inches around the edges.
Step 4– Place the item between the papers like a sandwich and start stapling around the edges of the gift.
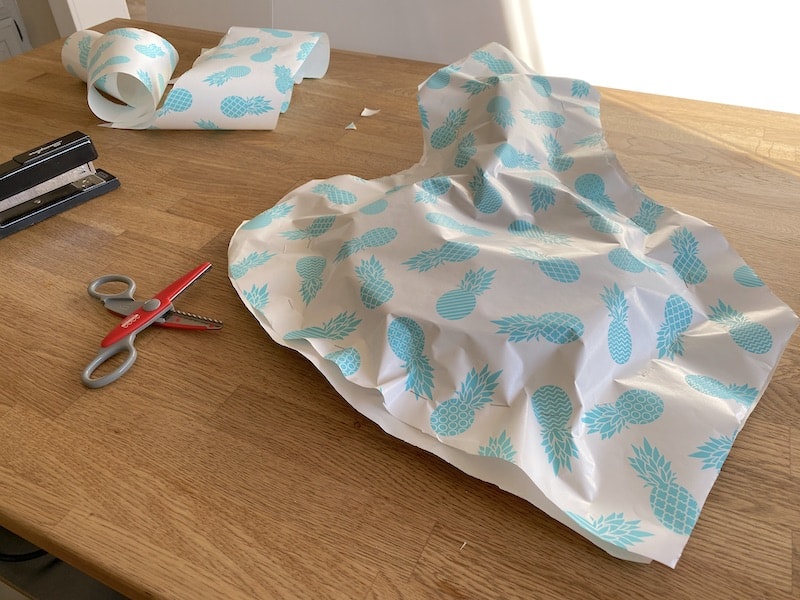
Step 5– Trim any mismatched edges with your scissors.
Step 6– If you have craft scissors with scalloped edges, they would be perfect to make the edges cuter and safer. But just trimming them is fine also.

Bonus Wrapping Method
For those gifts that are just way too big to wrap, Amazon has a great selection of drawstring bags that should fit almost anything!

Related Questions
How can I wrap an experience gift? Find an object that represents the gift. Going to the dinosaur museum? Tie a tag/gift card around the neck of a toy dino with ribbon.
Gifting a yoga class? Attach the gift card to a yoga mat or piece of workout clothing.
Giving a trip to a specific location? Buy a special food item or candy that comes from that location and attach the card to that.
How to make a box for small gift items? Here’s a template that you can print onto the back of a piece of 8.5 x 11 patterned paper. Then fold it into a tiny gift box and you’re done!
